Shelter Your Car, Create Additional Space with Metal Tube Support and Profile Sheet Cover Carport
As I look back on this particular project and many others I post in this website, I realize that whatever works I carry out should serve its purpose to the fullest. That is what makes any work delivered valuable and worth recommending to others by satisfied Clients. I was offered the opportunity to solve a problem that this house owner was facing and I jumped on it. Of course, I knew what I'm capable of before taking on such projects. For many who don't have the ideal space for a garage would know how inconvenient it is when coming out of the house and getting wet in the rain before entering your car or vice versa. This is how I designed and built a Metal Tube Support with Profile Sheet Covered carport to remove this inconvenience. So the best way I always tackle a new job is by designing the structure on an easy-to-use 3D Modeling Software.
When working with a 3D model before executing the job, it is perfect to anticipate any challenges and how best to overcome them. This particular way of taking on a job like this allows a safe process when cutting and welding metal, assembling in order each part of the structure and most importantly quoting a Client with an accurate required quantity of materials. Don't you just hate it when a contractor comes to you in the middle of a job requesting more and more money for materials. Budgeting is important for both the Contractor and the Client.
If you are an experienced 3D Designer, you would probably see much of what can be improved in the above designs. Yes, there definitely is, but bear in mind that the purpose of sketching in 3D is to simply have an overview of the project structure and layout materials which would require. On the other hand, when the Client needs to be convinced of what you're proposing will work for Him/Her then a neatly sketched 3D design must be provided.
Once the Owner and I agreed on the design, we went forward and ordered the materials to be delivered. When this is done, always make sure you have the whole list of materials so you don't miss out on anything which would be time consuming to back and forth to the hardware store. It is also wiser to look for Hardware Stores around your area for the best deals, this would mean the best price for materials without undermining the quality and which can be delivered at cheaper cost.
One of the things I like to do when ordering at Hardware Stores is taking delivery of the smaller items then and there. For this particular project, smaller items would mean Welding Rods, Rawl Bolts, Roof Sheeting Screws, Primer and Paint. You can verify the quality and quantity of these items before taking delivery in the store itself. Having to go back for these items can delay the process of the job.
And so, once delivery was made, I started off by cutting to length the metal tubes which would serve as main support. I followed through with the help of my sketched design and then set aside neatly all cut parts. Tip: A good advice to any Tradesman, always set the right number of days of work based on the level of complexity of the works and NOT on the 'How soonest it can be delivered'. The reason I say this is because it allows you to render a satisfying end result instead of rushing to it and having to go back and correct errors.
I work alone so it is very important for me to plan my work as effectively as possible even if it means laying the process over 5 or more days.
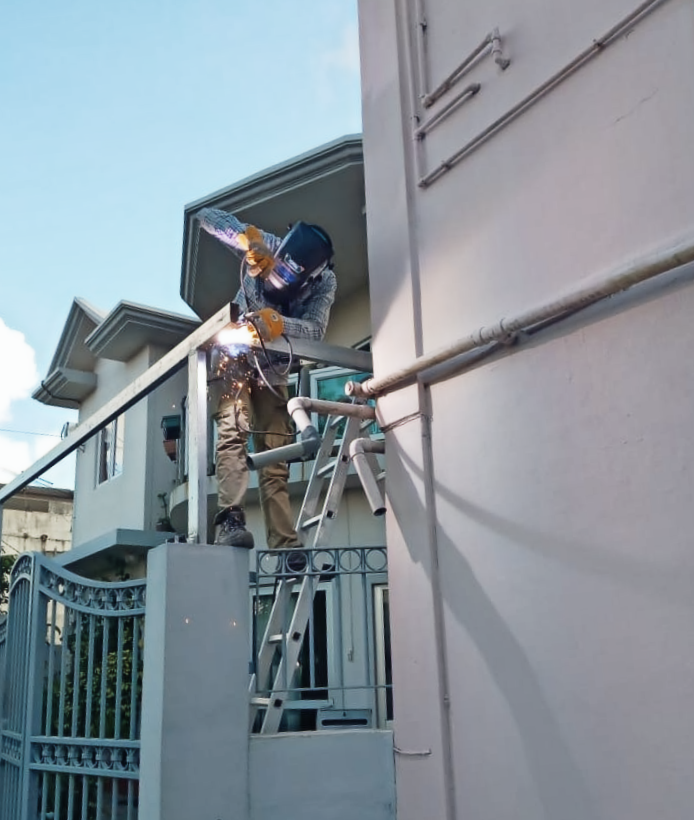
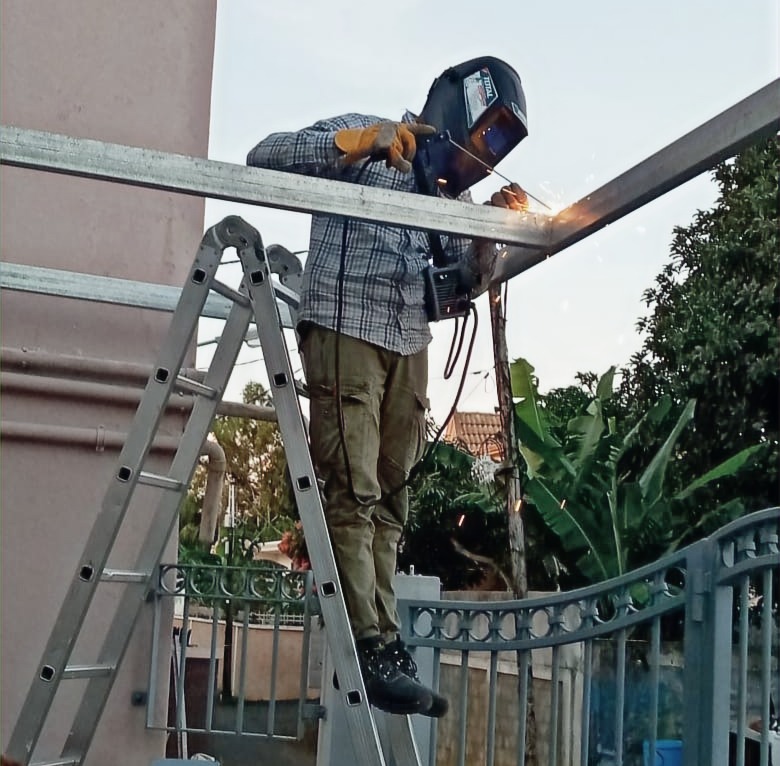
The first day was dedicated to only cutting to length all parts needed and fixing poles on which other tubes would be welded. The next day onward, I put on my welder's mask and safety gloves and enjoyed welding all main frame supporting tubes.
It is extremely important to ensure, specially when welding on-site, that all precautions are taken into consideration. When stick welding, for example if amperage is not set appropriately according to the thickness of metal you're welding, you could end up creating a lot of spatter or sparks which go off flying and landing on flammable materials.
In the beginning I surely did get a few flying fireball find its way in safety shoes. I have some socks that could testify. Since then I learned my lesson.
Click Here for a short article highlighting some safety measures to consider when stick welding.
After being done with all the welding, I cleaned up all the slag (stony waste matter separated from metals during the smelting) with a metallic brush and smooth them down with my angle grinder. Here is a step to never forego at this point, it is the best time to apply Primer on all corners and top metal surface while they are accessible. An unattended spot where either the grinder was used or welded can be exposed to water and create rust. This cancer to metal can overtime render the structure vulnerable. It can be quite a costly repair down the road if the risk is not avoided right at the beginning.
To make sure there is no risk, I like to apply primer over all surfaces even if the tubes are factory galvanized.
This particular primer has an epoxy base and is best applied when the weather is ideal. Lucky for me, I managed a good job in the sunny weather of Mauritius.
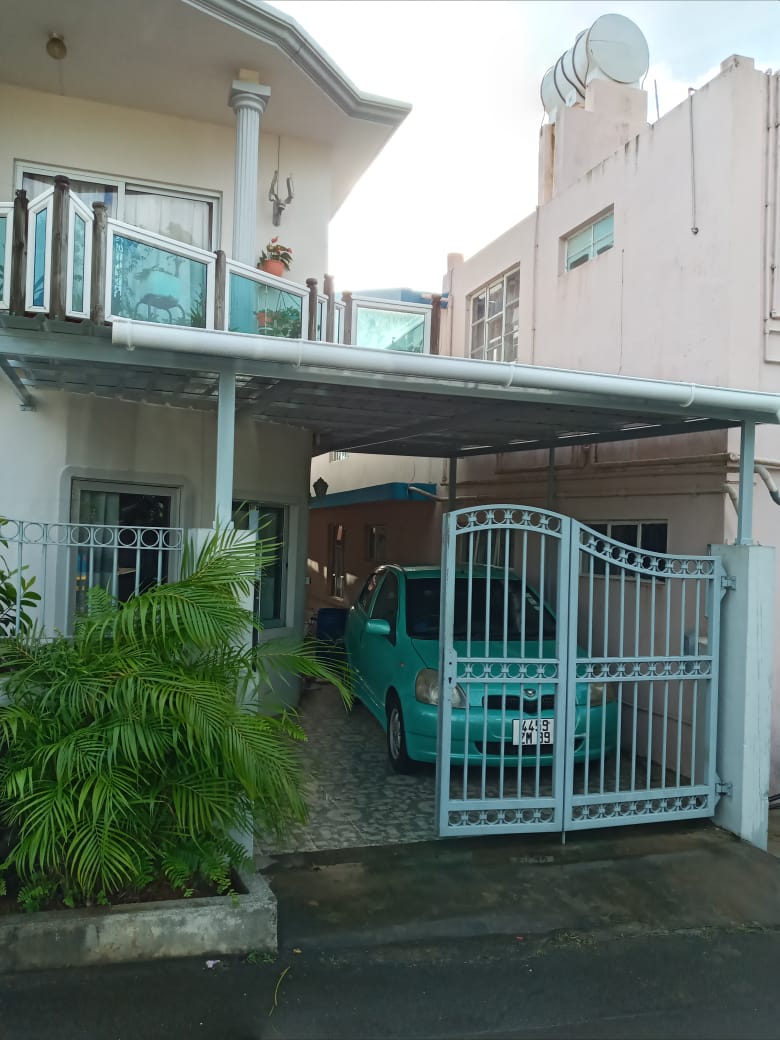
The best feature of this Owner's house is the boat like shape in front. My challenge here was to install the profile sheets in a way that it fits the rounded shape. Unlike other simpler square or rectangular carports, the lengths of the sheets are pretty much straight forward but this one had to merge with a rounded wall. So I laid all the sheets on top and marked where they needed to be trimmed. Sometimes it is best to place the profile sheets and do pre-installation tests.
I made all the proper cuts on the carport roof itself to avoid sending the profile sheets up and down. When working alone, I try as much as possible to limit maneuvers such carrying materials back and forth simply to avoid possibilities of damaging the materials and for safety reasons.
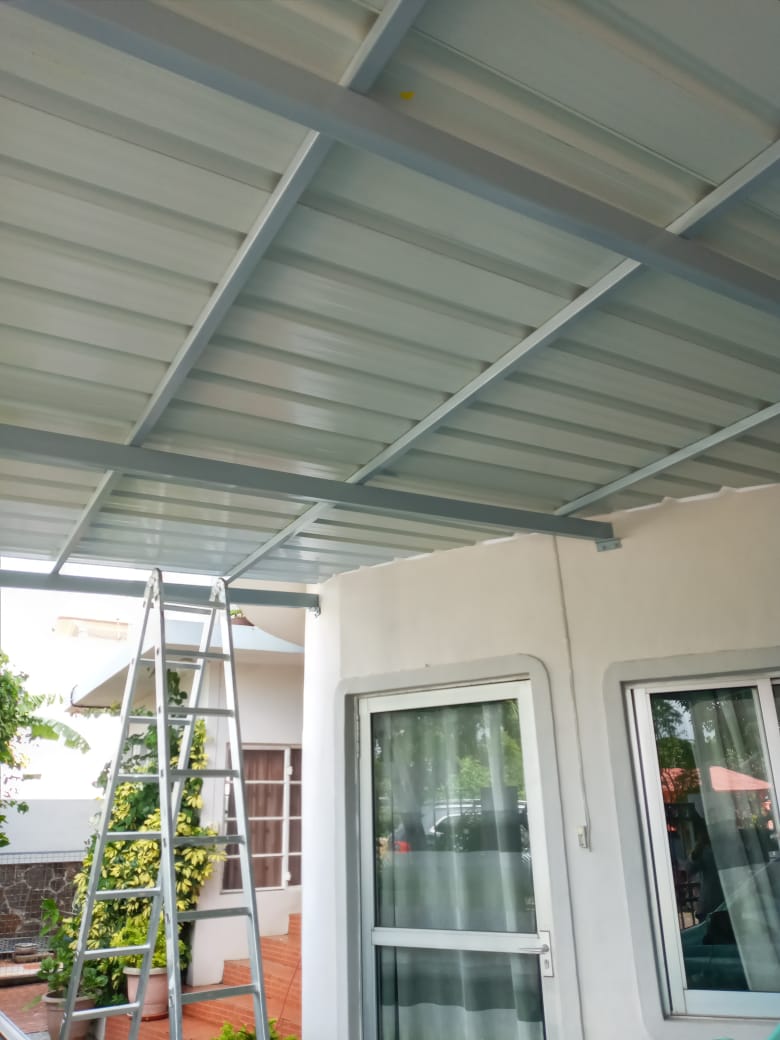
I had applied Primer and painted the whole Metal Tube Support structure and trimmed the profile sheets to shape, I was now ready for the final task which is to screw down all the sheets to the tube using self-drill roof sheeting screws. As simple as this task may seem to be, if it is not done with precision, it can damage the sheets by either denting or scratching the paint off. It can also cause injury to the arm and shoulder if too much force is applied but the drill bit slips of the head of the screw. With experience and good quality screws, this task gets easier.
Tip: For a neat and aligned of roof sheeting screws, don't hesitate to make use of a string attached from one end of the metal tube, over the sheet and attached to the other end of the metal tube you're screwing on. Going off that line would cause the screw to not hit the tube and be visible underneath. That screw would need to be left there to avoid water from penetrating if removed.
There's something I've noticed on carports during other Handyman Interventions. Many happened to have multiple tiny rusts spots on the profile sheets. The simple cause of this is due to not having cleaned the sheets thoroughly after all screws are are installed. When using sell-drill roof sheeting screws, well its purpose is to drill through and by doing so it leaves behind tiny pieces of metal dust.
Of course when a tradesman is in a rush, such tasks can be forgotten and can unfortunately affect the surface of the profile sheets.
I completed this job by installing the gutter, leaving one side of the roof open for rainwater to water the plants below.
The Owner was quite satisfied of the work done and so was I.
Feel free to SHARE this article with your friends.
It is always a pleasure sharing my experiences, the challenges and how I overcome them. Delivering the best products and services to my Clients is my priority.
The shortest way to improve is through receiving readers' feedback and I therefore love to read your comments submitted below.


Comentários